Top-3: Best WiFi Distribution Programs from Laptop
You can distribute WiFi from a computer with standard Windows tools, but more convenient, of course, if it is full-fledged WiFi distribution programs from a laptop.
It is logical that it will be much more functional and comfortable.
In addition, most likely, the network will be rated much better, because the program will be able to take all available computer resources, and not just their small part, as standard means will do.
In fact, programs that have the ability to distribute WiFi from a laptop, there is a lot.
Most of them can even download free, and they work both on the usual Windows 7 and on newer Windows 8 and Windows 10.
In general, consider which programs are the best for distribution WiFi from a laptop, according to users.
To do this, take reviews and just posts on social networks and forums on this topic.
№1. WiFi Hotspot Creator
In this case, the criterion of which programs are the best, as far as they are easy to use and efficient.
Again, here we do not take just the promoted programs that are at first search places.
Therefore, we start with the one with the most simple interface and which, accordingly, the easiest in understanding and configuration.
You can download it completely free. In general, the entire process of downloading and creating an access point is as follows:
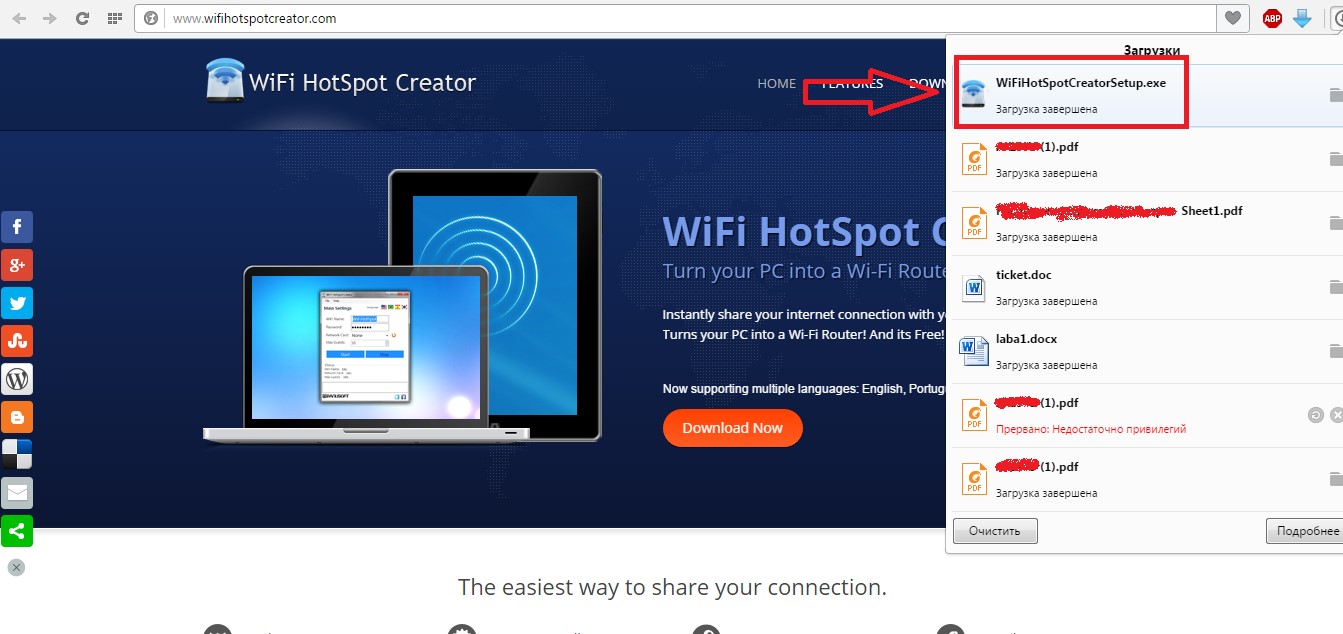
- We go to the official website - http://www.wifihotspotcreator.com.
- We see there the "Download Now" button. Click on it.
- Downloading begins immediately, without any advertisements and requirements. Open the downloaded file.
- The installation begins. In the first window we click the "Next" button, that is, "Next". This is a welcome window, where it is briefly written, what program.

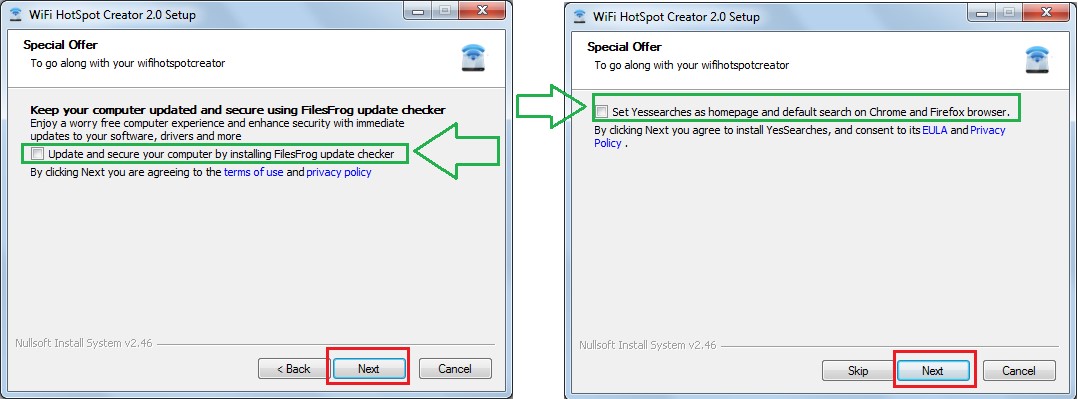
- In the next window, we are invited to enjoy free games that will occur on the desktop, in the browser in general, we will greatly bother us. In general, it is better to get rid of them.
To do this, remove a tick near the "Free Daily Games!" Item (highlighted green in Figure No. 3). We click "Install", that is, "install".

- After that, we see a few more windows with advertising. They should also remove all ticks (also highlighted in green) and press the "Next" button.
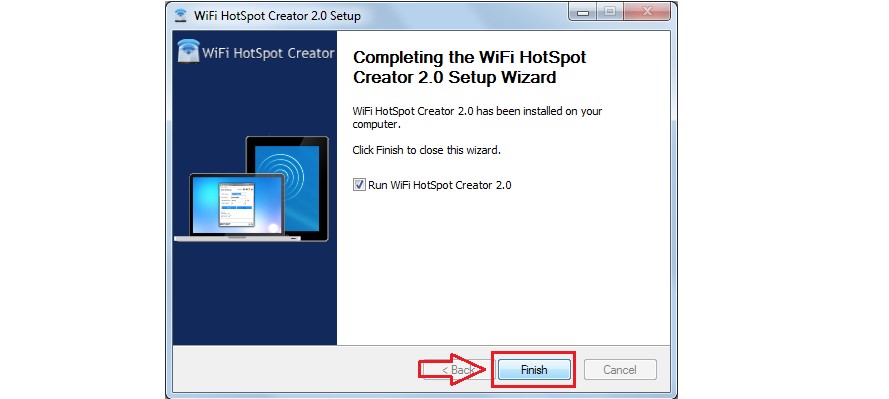
- Installation, as it seems, completed. Click the only "FINISH" button available in this case.
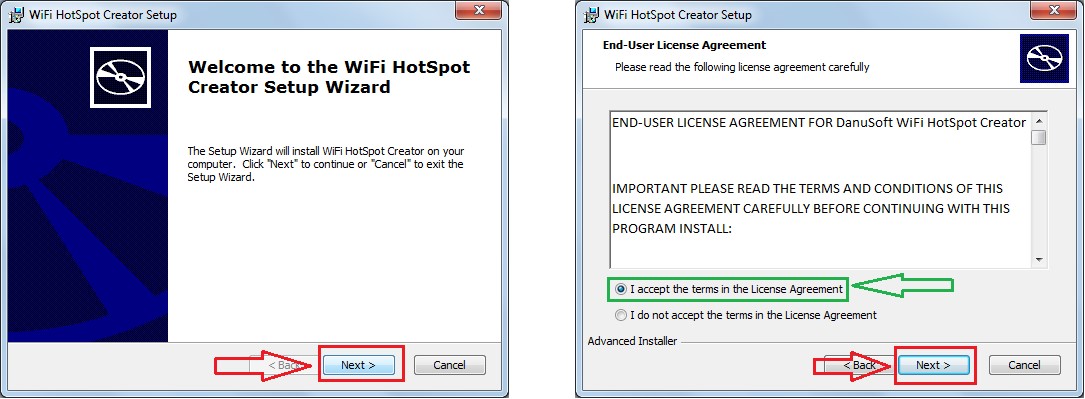
- But that's not all. Now it starts installing not advertising, but the program itself. In the first window, click "Next", that is, then we agree with the license agreement by selecting the option "I Accept the Terms ..." (highlighted in green) and press "Next" again.
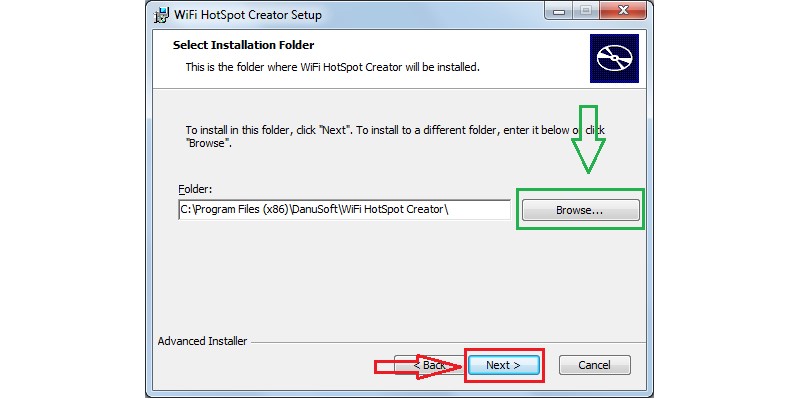
- Now choose the folder where the program will be installed. This is done by pressing the "Browse ..." button and select the desired folder (highlighted in green). After that, press the "Next" button again.
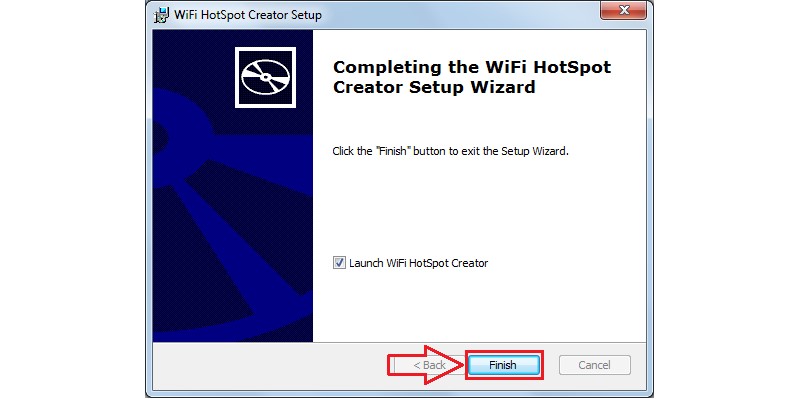
- Once again, press "Next" and "Install". The real installation begins. We press the real "finish" again.
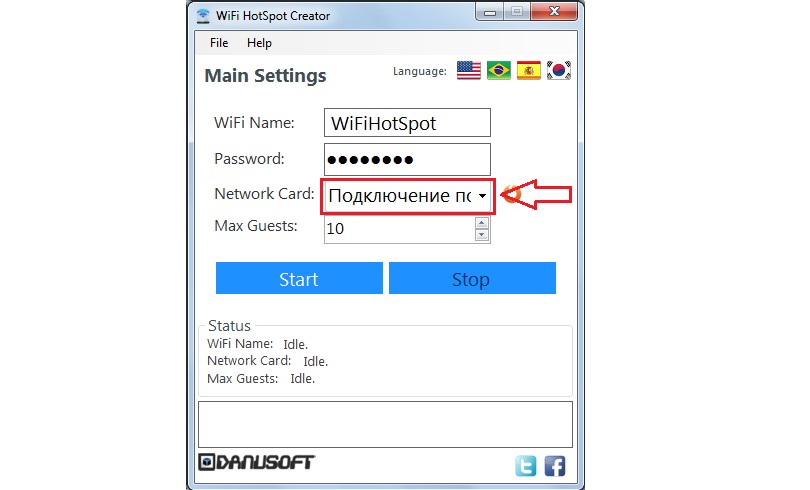
- The program is launched. The interface is seemed as simple as possible. The WiFi Name field is responsible for the name of the access point, and Password is a password. All this is easily set. The main thing here is to choose Network Card.
This field actually determines where we will take the Internet for our connection point. If the Internet is connected via the cable, then select "Connecting on a LAN" or another name of your connection.
Finally, Max Guests defines the maximum number of people who can connect to the network. When all the parameters are defined, click "Start" and the distribution begins.
To stop the distribution, you need to press the "STOP" button in the same window. That's all. As you can see, everything is most simple.
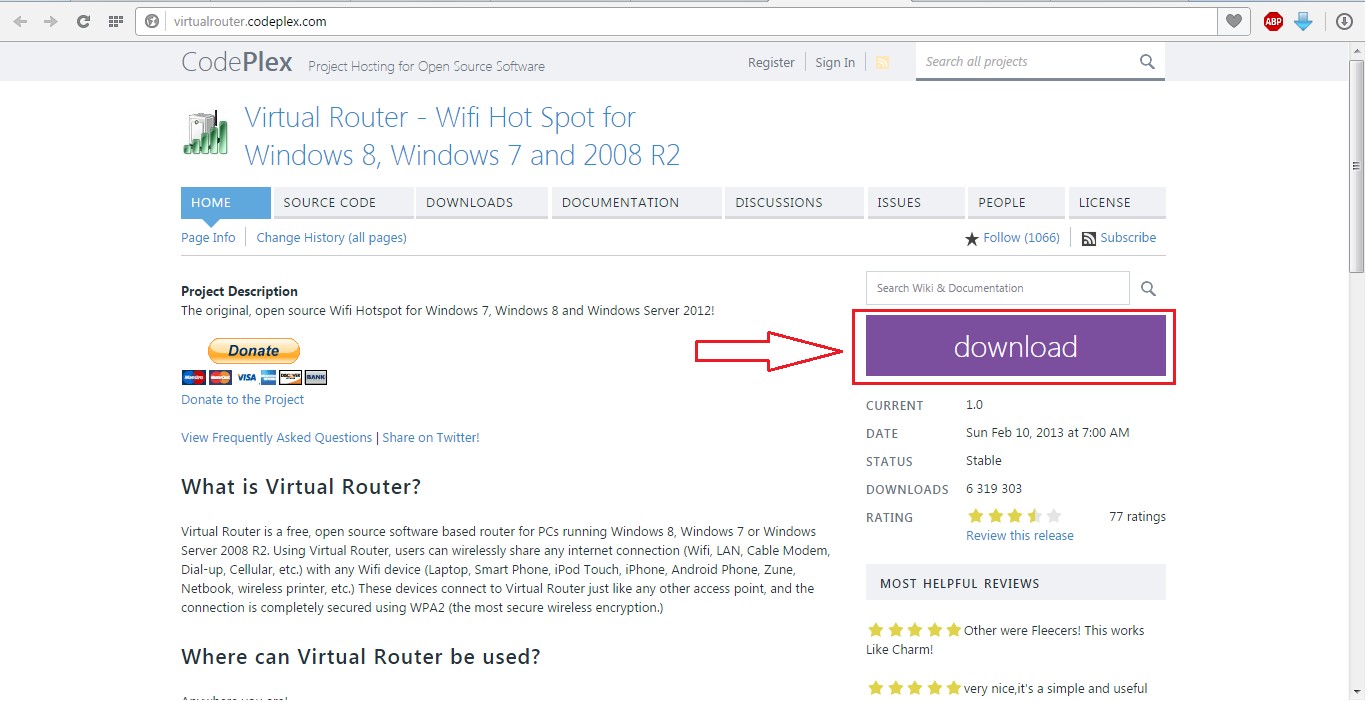
№2. Virtual Router.
There is the only big "download" button, which is highlighted in Figure # 11.
In general, after the user downloads and establishes Virtual Router, he will only have to specify the values \u200b\u200bof the "Network Name" fields, that is, the connection name and "password" is the same password.
The Shared Connection field performs exactly the same features as Network Card in WiFi Hotspot Creator. This is the connection, from where we will take the Internet.
After the setup, it will be easy to press one large Start Virtual Router button.
Figure No. 12 shows the already working program, so there is already a button for stopping the program of the program - "Stop Virtual Router", but "Start ..." will be located in the same place.
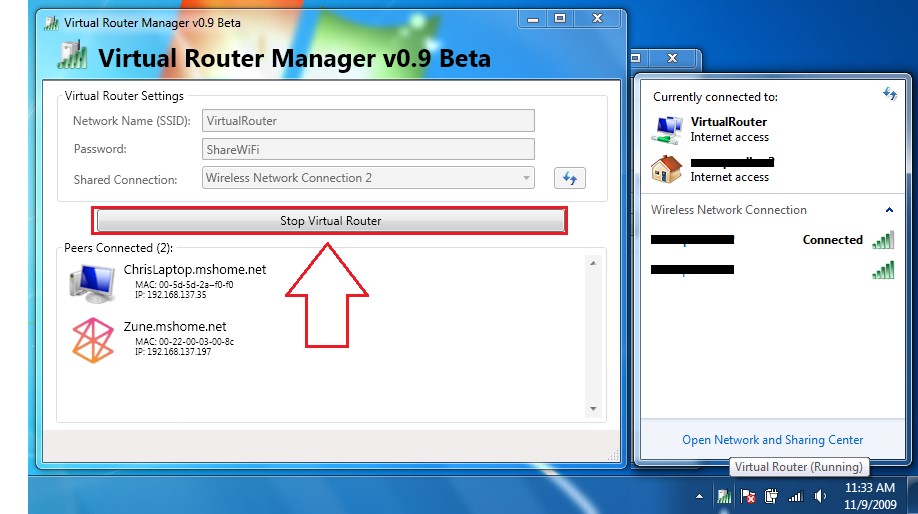
As we see on the same figure, this program is more functional.
For example, there is a whole field "Peers COnnected", which shows who is currently connected to the network - its Mac, IP address and network name. Indeed, comfortable!
In the right part of Figure No. 12, it is shown that the connection has already been created, recorded in the list of networks and successfully works.
Unfortunately, none of the above-described programs apply to Russian.
However, it is not critical, because the values \u200b\u200bof all fields and so intuitively understandable. In addition, these programs are absolutely free.
 How to make an emergency restoration of the firmware of the ASUS router
 How to set up a D-Link DIR 615 router: Step by step instructions with photos
 How to enable bluetooth (Bluetooth) on a laptop in Windows 7
 How to set up a Wi-Fi router D-Link DIR-615 yourself
 On Android does not turn on Wi-Fi: possible failures and methods for eliminating
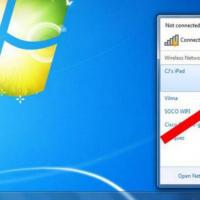 How to transfer the Internet from the phone to the computer in modern conditions
 Distributed the Internet from a laptop, Wi-Fi network is there, and the Internet does not work?