Old horse, furrow does not spoil
Router D Link Dir 320, not new to the newcomer and has long been removed from production. But it was produced, at one time in large volumes and still carries its watch, many Internet users. An unpretentious device that supports several ways to communicate with the Internet, although it does not demonstrate the wonders of performance, but is the optimal choice for a regular family. Unfortunately, it does not support the fashionable functions of the network drive, control of the bandwidth or print server, but are they so important?
Technical characteristics of the router
The DIR 320 router is made in a plastic black body. The front panel contains operating modes indicators, and the rear panel switching connectors and one rotary antenna. The router includes:
- four LAN-Port Ethernet 10/100
- one WAN-port Ethernet 10/100
- one USB Modem Connection Port
- one WLAN interface standard IEEE 802.11b / g / n
The program part of the router sells:
- DHCP server.
- DNS RELAY.
- VPN-tunnel (PPTP)
- support Dynamic DNS.
- Static IP Routing
- Remote access
- IgMP Proxy.
- firewall
A distinctive feature of this router is the presence of a USB port, with which you can implement a backup connection, using WiMAX, 3G GSM or CDMA modem.
Setting up router
Let's look at how to configure the DIR 320 router as a home network router. Settings are traditionally produced from the browser. For which it is necessary to go to the address 192.168.0.1 specified by default. Username Admin, password depending on the version or admin or empty field.
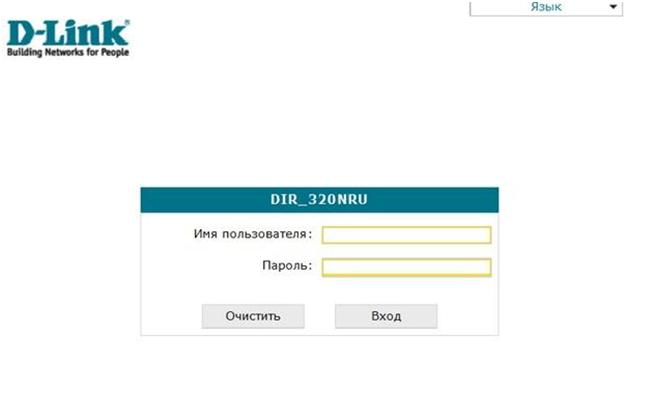
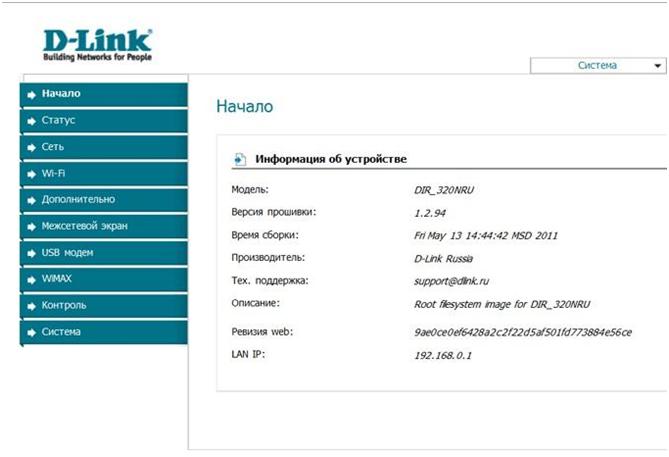
After that you will be taken to the main settings screen. Please note that if the color is made in orange-black colors, then you have a fairly old firmware. Since the end of 2011, a redesign occurred and a sea wave color was used on a white background. In this case, we recommend that you change the firmware, more fresh. How to do this will be described below.
Basic settings
Configuring the DIR 320 router begins with adding all types of network connections to be used by router. Local Ethernet and wireless network are considered to be one connected. This is a LAN-local network, WAN connection to the provider by wires and may connect via a USB modem, for example 3G.
To do this, click on the "Network" point, then "connections". You will have a list of existing compounds, for example, such as in the picture.
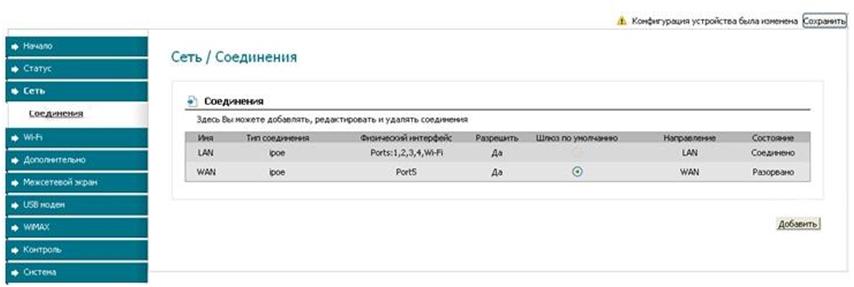
Please note that we have 2 connection, one on the local network and one with the provider. Local part includes 4 ports and WiFi. The default gateway is fixed for connection to the provider.
Adding 3G modem
The D LINK 320 router supports modems, so if necessary, you can add a connection using a USB modem by clicking the "Add" button. You will have a physical layer settings window, leave them unchanged.
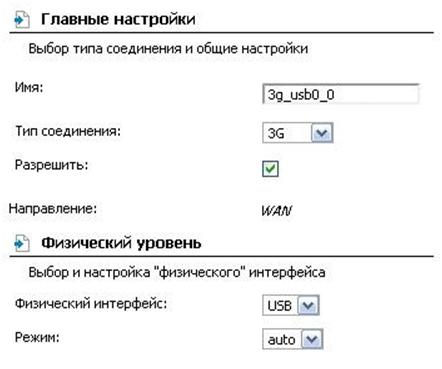
Connection physical level settings window
After that, you will fall on the PPP connection setting window.
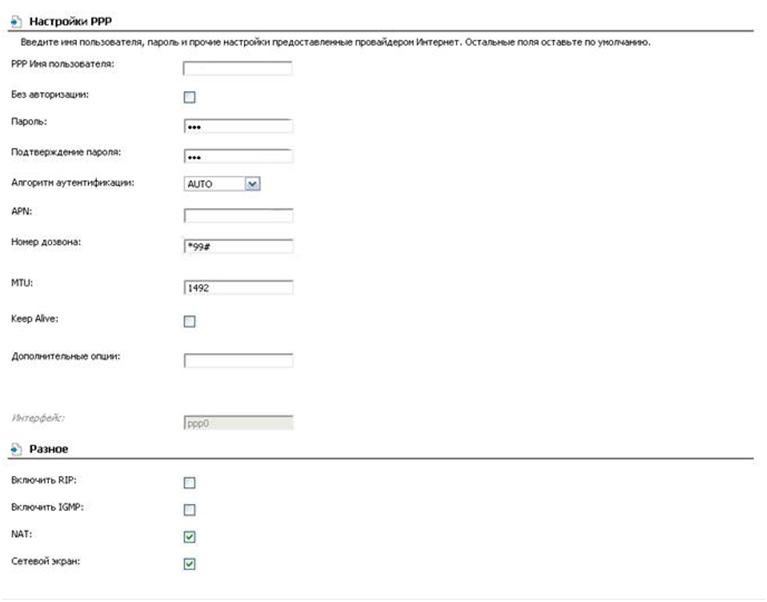
Here you need to fill out all the fields, according to the data obtained from the 3G provider. After that, press "Save" and you again find yourself in the list of connections list.
Now you have a choice which of the connection connections will be the default gateway. And in the event that the main wired channel disappears, you can quickly switch to 3G. Information about the modem connection can be found in the "USB modem" menu - "Information".
Configuring DHCP - Server
Configuring the DIR 320 NRU router, includes both a built-in DHCP server. This is a useful service that allows you not to worry about highlighting addresses for each specific device on the network. All you need is to highlight the region, for the server, and it will automatically assign the addresses to each device. On client devices, in the tinctures, select "Automatically get the address" or something like that. The DHCP setting is easy, all that is necessary is to highlight the address of the addresses that will hand out the server.
Setting up a wireless network
Router Dir 320, supports standard Wi-Fi communication rates, and allows you to exchange data on a wireless network at a speed - up to 150 Mbps. Wireless settings are performed in the WiFi section. This section is quite extensive, but the main points are:
SSID - specify the name of your network
Channel - You can choose from which channel network will work. The most downloaded, as a rule, is 6 channels. Select one in which no interference for you
wireless Mode - You can select the operation mode of 802.11g or 802.11n communication, if unstable communication, experiment with values
encryption key - Be sure to set a crypto-resistant password, use lowercase and capital letters, as well as numbers.
The parameters considered will be enough to function.
Routher flashing
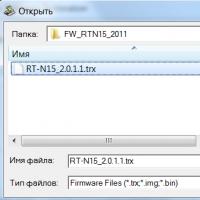
Since many of the existing routers use rather old firmware, we strongly recommend downloading from the official site the last and flash router. This uses the standard DIR 320 Router Firmware Updater. The procedure is very simple. Go to the item System and click on the "Update". Next, you will need to select a pre-downloaded file with the firmware and click the "Open" button. The firmware will start after pressing the "Update" button and takes about 5 minutes.
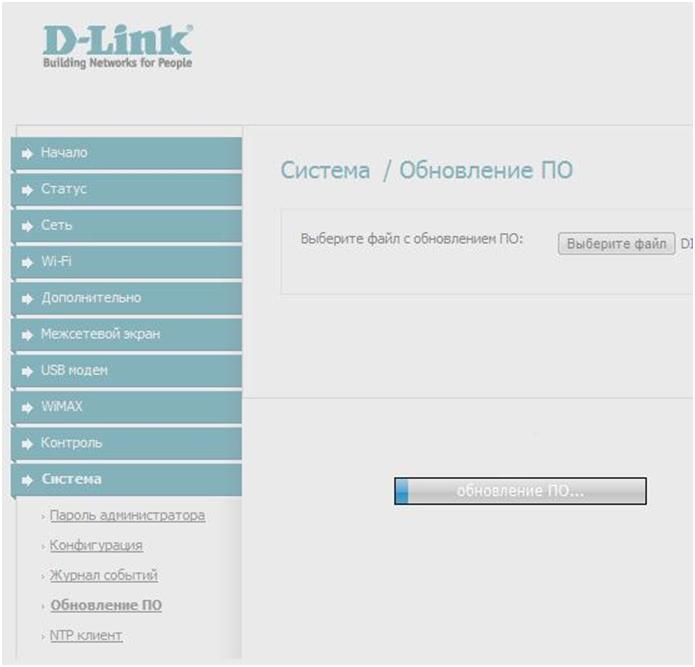
It is important to remember that under no circumstances can not intervene the firmware process.
As a rule, after flashing, the D LINK 320 router is not needed, but still go through the parameters with the check, especially in terms of security.
Operation of router
The device is quite reliably and unpretentious, we recommend installing and connecting the DIR 320 router to the Internet and the power supply, in the area of \u200b\u200bthe entrance door to the apartment. After that, check the quality of the signal in all rooms, if it is unsatisfactory, change the channels or communication protocols. In the extreme case, transfer the router, but do not place it in the residential premises.
Router 320, is a low-power device and does not require special power. Take care only about normal air circulation around it, for efficient heat exchange.
Setting up the DIR 320 Rostelecom router is not distinguished by any problems. To connect to the provider, use the PPPoE protocol and login / password provided when issuing a contract. All quickly and simple, and with difficulty, you can help in support service.
 How to make an emergency restoration of the firmware of the ASUS router
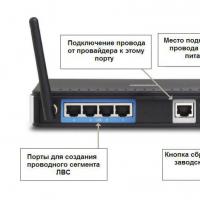 How to set up a D-Link DIR 615 router: Step by step instructions with photos
 How to enable bluetooth (Bluetooth) on a laptop in Windows 7
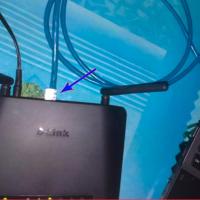 How to set up a Wi-Fi router D-Link DIR-615 yourself
 On Android does not turn on Wi-Fi: possible failures and methods for eliminating
 How to transfer the Internet from the phone to the computer in modern conditions
 Distributed the Internet from a laptop, Wi-Fi network is there, and the Internet does not work?